
Easy Chord Progressions to Practice With Gesture Synth
Practice simple Gesture Synth chord progressions with I-IV-V-I, I-V-vi-IV, and vi-IV-I-V patterns before adding inversions, sevenths, and expression.
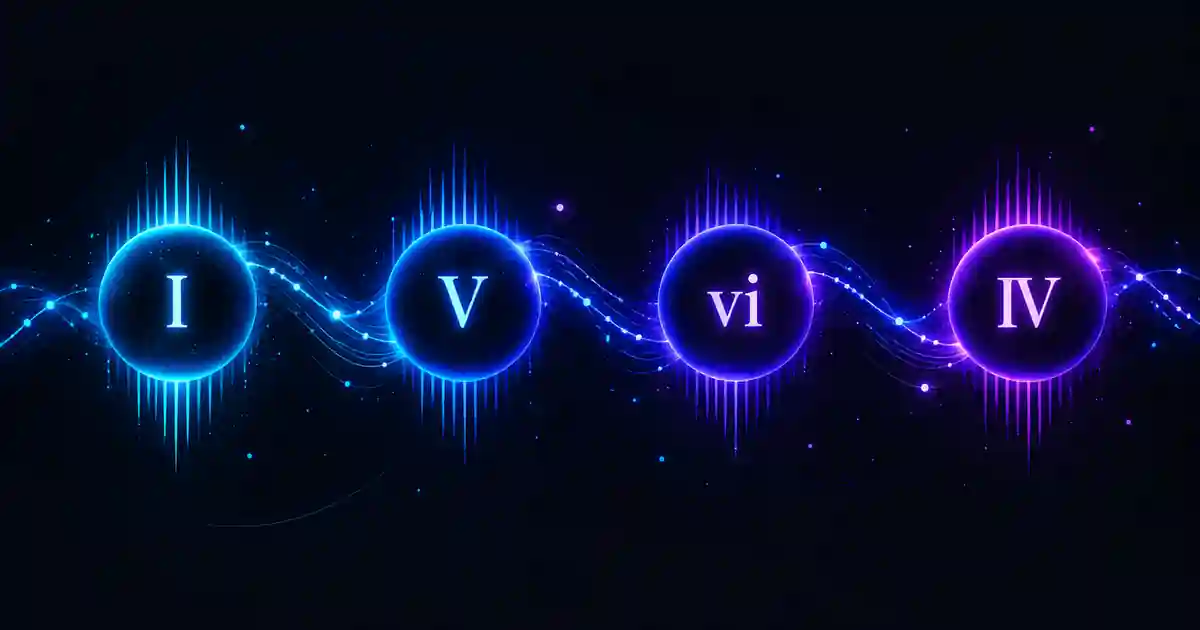
A short repeating chord progression is one of the fastest ways to make Gesture Synth feel predictable. Instead of learning every gesture at once, repeat a small sequence until the left-hand degree changes are reliable, then add right-hand quality, octave, volume, and filter movement one layer at a time.
Start with I-IV-V-I
I-IV-V-I is the simplest warm-up because it only needs the one-, four-, and five-finger left-hand degree gestures. Keep one right-hand finger raised for Quality 1 and hold each chord long enough for the gesture stabilizer to settle before moving to the next shape.
- Show I with one left-hand finger.
- Move to IV with four fingers.
- Open the left hand to V with five fingers.
- Return to I and repeat at a steady pace.
In G major this gives G-C-D-G roots. The chord guide has the full I-VII map if you need a reference while practicing.
Try I-V-vi-IV for a longer loop
I-V-vi-IV adds the special VI gesture and a major-to-minor context change. In C major the roots are C-G-A-F; in G major they are G-D-E-C. Use major context for I, V, and IV, then turn the left wrist to minor context for vi before returning to major.
Do not add a fancy right-hand voicing immediately. First make the left-hand sequence dependable with Quality 1. Once the progression survives several clean repetitions, try Quality 2 on one chord to hear how a first inversion changes the flow without changing the degree sequence.
Practice the transition, not just the destination
A progression can look correct when you pause on every finished chord but still fall apart at normal speed. The useful unit of practice is the transition between two gestures. Loop I to V several times, then V to vi, then vi to IV. Keep the right hand unchanged while you learn each left-hand move so you can see which transition produces an accidental intermediate shape.
Once each pair is reliable, reconnect the four-chord loop. This is slower than repeatedly playing the whole progression, but it gives you a specific movement to improve instead of a vague sense that one chord was missed.
Use vi-IV-I-V to practice entering on minor
Starting on vi is useful because it forces you to establish minor context before the first chord sounds. Move through vi-IV-I-V, then loop back to vi. This makes the wrist-mode change part of the exercise rather than something you only add after the finger patterns are comfortable.
Add expression after the progression is stable
When the sequence is reliable, use right-hand height to shape volume across a four-chord phrase. Start lower, rise through the middle of the loop, then fall before the progression repeats. After that, add a small wrist tilt for filter movement instead of changing every control at once.
- Pass 1: left-hand degrees + Quality 1 only.
- Pass 2: add major/minor wrist changes where needed.
- Pass 3: add one inversion or seventh color.
- Pass 4: shape volume and filter movement across the phrase.
Use tempo as a diagnostic tool
You do not need a metronome to benefit from a fixed pace. Count four even beats per chord at first, then two, then one. If the progression is stable at four beats but unreliable at one, the musical mapping is probably correct and the remaining problem is transition speed or gesture clarity rather than the chord theory itself.
When a faster tempo starts to break recognition, reduce expressive movement temporarily. Large volume sweeps and wrist filter motion can make a hand harder to read while you are also changing finger shapes. Add those movements back after the degree sequence works at the target pace.
Turn a real song progression into the same practice format
If you have a song chord chart, convert each chord root to a Roman-numeral degree in the song key, then practice that degree sequence exactly like the loops above. The Gesture Synth song chord guide walks through that mapping process without requiring a special score format.
What a successful practice pass looks like
A useful practice goal is not speed by itself. A clean pass means each degree lands intentionally, the major/minor switch happens only where the progression needs it, and the right hand can stay steady while the left hand changes. When that works for several loops in a row, add one expressive control rather than increasing every movement at once. This gives you a clear sign that coordination is improving instead of simply making the performance busier.
When you are ready to test a progression with the camera, open the Gesture Synth play page and keep the first few repetitions deliberately slow. Clean transitions are more useful than speed while the gestures are becoming automatic.